I actually finished this on the 6th November but I have been so busy with other things that I just haven't got round to blogging about it!
How did I go about it? Well .... here are the things I used:
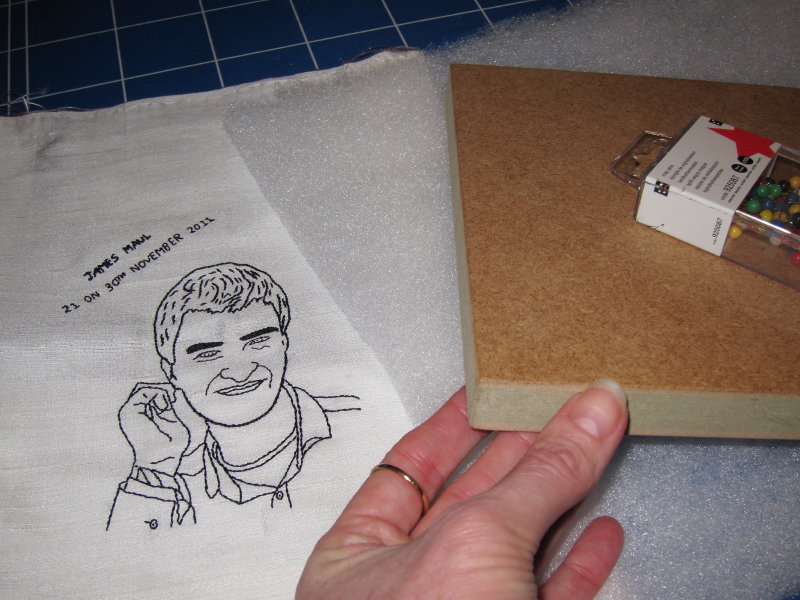
A friend who works in a wood yard got me an off-cut of wood to use as a base for the picture and kindly rounded the edges for me. I recently bought some wadding to wrap round the wood, so as to stop the silk from wearing on the edges of the wood. The map pins were to pin first the wadding and then the silk to the wood to help keep things taut when doing the lacing on the back.
Perhaps the wood is more visible on this picture above.
I carefully pulled the wadding round the wood and did use the pins to keep things in place before starting to sew the lacing with ordinary white cotton thread. I've never done this before but it went surprisingly smoothly. I trimmed the wadding in the corners so there wasn't an extra thick layer in the corner; if you look closely, you can see where I sewed the wadding to produce a sort of mitred corner.
Here you can see the front. I was very pleased with how well the wadding covered the wood.
Here I've laid the wadded-wood onto the embroidery to try and work out how much of the silk I can cut off. When I attached the silk to the embroidery frame, I had to use a piece of silk that was much bigger than the actual design. Still, the little off-cut will come in handy for something! Minstrel is keeping a close eye on me to make sure I don't make any mistakes!
Here is the silk embroidery with the lacing all finished. Getting the corners to lie flat was a bit fiddly but it went reasonably smoothly.
And of course ..........
.... I covered the lacing with a piece of white felt, just slip stitching it in place ...... so you'd never know what was underneath.
And voila! All done :)
The finish isn't quite how I was expecting, in that it bears some similarity to a padded chair seat. However, when on the wall, it looks more modern than the usual type of embroidered picture ..... and that, after all, was what I was really after.
Just hope James likes it :)