Well, the year before last (I think it was anyhow!!) I had two little needlepoint projects on the go that were small enough that I didn't need to do them in a frame. However, this did mean that they did get very slightly pulled out of shape in the course of stitching and needed to be stretched before they could be made up.
At long last, just recently I asked John to mark up a couple of sheets of marker board with ruled lines so I could do this stretching.
This little kit is from Cleopatra's Needle and is a spectacle case worked entirely in tent stitch using wool. As you can see above, in the working the canvas has been very slightly been pulled out of the true square.
Now ...... in looking round the Internet, some sites say to damp the work before trying to stretch and some say to do it after pinning it out on a board. Nevertheless, one thing for sure, as I live in a hard water area I decided that if I used tap water, I'd probably end up with limescale marks on the work.
So, I bought some ironing water and, deciding to damp first, I lightly damped the back of the work.
I then set off and started to carefully pin it out on the board.
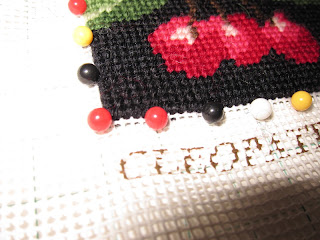
Never having done this before, I wasn't really sure how best to do it! In the end, since the top edge was straight and 'true', I carefully pinned this edge, putting pins in approximately every centimetre. I then carefully stretched and pinned the left hand edge, then the bottom edge and then the right hand edge.
I used stainless steel mapping pins; rust proof and strong!
One minor hiccough! The pins are long enough that they go through the board a little bit and can stick in you if you're not careful!! But ..... hey ..... perhaps 'art'(?) needs a little pain :)
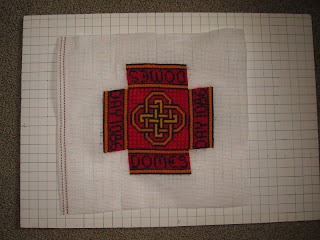
Since the spectacle case went so well, I went onto a square pin-cushion that I bought a long time ago when we visited Winchester Cathedral. I really enjoyed making this since it involved several different needlepoint stitches that I hadn't tried before. However, you can see how these stitches have pulled the side pieces out of true.
A back view of the work! Something people don't often see!
The following closeups show more clearly how the side pieces have been pulled out of true. You can also see some of the different stitches used.

Again, I damped the work before pinning to the board. Stretching was a little more tricky but here is the finished pinning.
Once they are dry, I can remove the pins and see how well the stretching has worked!


No comments:
Post a Comment